In the dynamic world of blockchain technology, Non-Fungible Tokens (NFTs) have taken the spotlight as a revolutionary means of owning and trading digital assets. If you’re an enthusiast looking to enter the world of NFTs, you’re in the right place. In this comprehensive guide, we will walk you through the process of crafting your exclusive NFT collection decentralized application (DApp) using Hardhat and React, providing you with the tools to create, manage, and trade your unique digital assets.
The NFT Craze: A Brief Overview
Before we dive into the technicalities, let’s briefly explore the NFT phenomenon. NFTs are unique digital tokens representing ownership of a specific item, artwork, or collectible on the blockchain. They have gained immense popularity for their potential to revolutionize various industries, including art, gaming, and music.
NFTs have opened up new avenues for creators and collectors alike. Artists can tokenize their artwork, musicians can sell exclusive tracks, and game developers can offer rare in-game items as NFTs. Collectors, on the other hand, have a chance to own a piece of the digital world and even profit from trading these unique assets.
Getting Started with Hardhat and React
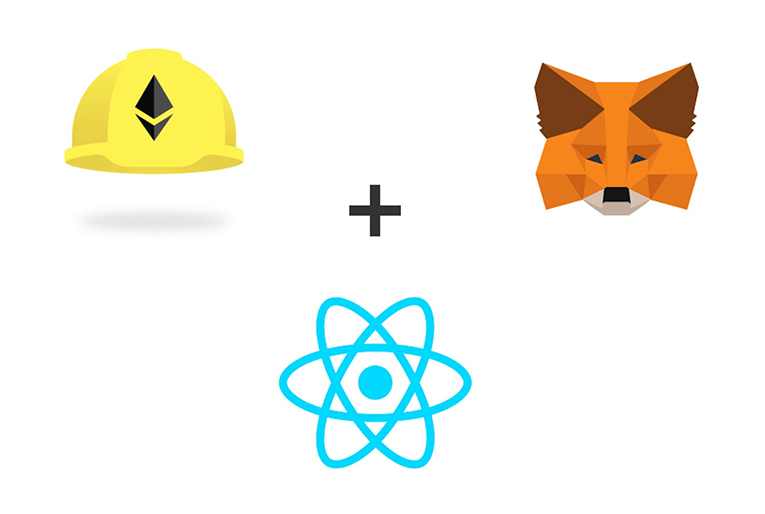
To craft your NFT collection DApp, we’ll be using two powerful tools: Hardhat and React.
1. Hardhat
Hardhat is a development environment for Ethereum that makes it easy to compile, test, and deploy smart contracts. It provides a solid foundation for creating secure and efficient blockchain applications.
Here’s a step-by-step guide to getting started with Hardhat:
- Installation: Begin by installing Node.js and npm if you haven’t already. You can download them from the official website or use a package manager like
breworchocolatey. - Initializing Your Project: Use the command
npx hardhatto initialize your project. This command will guide you through the setup process, allowing you to choose options such as a sample project or an empty one. - Writing Smart Contracts: Develop your NFT smart contract using Solidity, the programming language for Ethereum smart contracts. Implement functions for minting, transferring, and managing your NFTs.
2. React
React is a JavaScript library for building user interfaces, known for its simplicity and flexibility. We will use React to create the frontend of our DApp, enabling users to interact with your NFT collection seamlessly.
Here’s how to integrate React with your Hardhat-based project:
- Create a React App: You can use
create-react-appto set up a new React project. Navigate to your project folder and runnpx create-react-app my-nft-dapp. - Install Dependencies: Install the necessary dependencies for interacting with Ethereum and your smart contract. You’ll need
ethers.jsorweb3.jsfor this purpose. Usenpm install ethersto install ethers.js, for example. - Connecting React with Ethereum: Use
ethers.jsorweb3.jsto connect your React application to the Ethereum blockchain. This connection will enable users to interact with your NFTs through the user-friendly interface you’ve designed.
Building Your NFT Collection DApp Step-by-Step
Now that we’ve set up our development environment let’s dive into the step-by-step process of building your NFT collection DApp:
Step 1: Setting Up Your Development Environment
Before you begin coding, make sure you have Node.js and npm installed on your system. Initialize your project with Hardhat and create a React app as previously described.
Step 2: Creating Your NFT Smart Contract
With your development environment in place, it’s time to design and develop your NFT smart contract using Solidity. The smart contract is the backbone of your NFT collection, defining how NFTs are created, transferred, and managed.
In your Solidity contract, you’ll define the NFT’s metadata, including its name, symbol, and any additional attributes that make it unique. You’ll also implement functions for minting NFTs, transferring them between users, and potentially adding features like royalties for creators.
Here’s a simplified example of a Solidity smart contract for an NFT collection:
// SPDX-License-Identifier: MIT

pragma solidity ^0.8.0;
import “@openzeppelin/contracts/access/Ownable.sol”;
constructor() ERC721(“My NFT Collection”, “MNC”) {}
_mint(to, tokenId);
}
}
In this example, we use OpenZeppelin’s ERC721 contract as a base and extend it with our custom functionality.
Step 3: Integrating React with Your Smart Contract
Now that you’ve created your NFT smart contract, it’s time to integrate it with your React frontend. This integration will allow users to interact with your NFT collection through a user-friendly interface.
To connect your React app with Ethereum and your smart contract, follow these steps:
a. Install the Necessary Dependencies
In your React project directory, install the ethers.js library:
npm install ethers
b. Import ethers.js in Your React Component
In your React component where you want to interact with the smart contract, import ethers:
import { ethers } from "ethers";
c. Connect to Ethereum
Create a function to connect to the Ethereum network using MetaMask or another Web3 provider. Here’s an example of how you can connect to Ethereum using MetaMask:
async function connectToEthereum() {

if (window.ethereum) {

const provider = new ethers.providers.Web3Provider(window.ethereum);

try {

// Request account access

await window.ethereum.request({ method: "eth_requestAccounts" });

return provider;

} catch (error) {

console.error("Error connecting to MetaMask:", error);

return null;

}

} else {

console.error("MetaMask not found.");

return null;

}

}
d. Interact with Your Smart Contract
With a connected Ethereum provider, you can interact with your NFT smart contract. For instance, you can mint a new NFT with a function like this:
async function mintNFT(tokenId) {

const provider = await connectToEthereum();

if (!provider) return;
const contract = new ethers.Contract(contractAddress, contractABI, signer);
await contract.mint(userAddress, tokenId);
console.log(`Minted NFT with ID ${tokenId}`);
} catch (error) {
console.error(“Error minting NFT:”, error);
}
}
In this code, contractAddress and contractABI should be replaced with the address and ABI (Application Binary Interface) of your NFT smart contract, and userAddress should be the user’s Ethereum address.
Step 4: Minting and Managing NFTs
With the frontend connected to your smart contract, you can implement the minting process, allowing users to create new NFTs. Create a user-friendly interface for managing and displaying NFTs in your collection. This interface can include features like displaying NFT metadata (name, description, image), listing NFTs for sale, and allowing users to transfer their NFTs to others.
When a user mints an NFT, the transaction is executed on the Ethereum blockchain, and the NFT is created and owned by the user’s Ethereum address. Make sure to provide clear feedback to users during the minting process and display the transaction status.
Step 5: Adding Authentication and Security
As your DApp involves interacting with valuable digital assets, it’s crucial to implement user authentication and security measures to protect your users’ assets and data. Here are some key security considerations:
a. Wallet Integration
Integrate with popular Ethereum wallets like MetaMask to provide a secure way for users to manage their assets. Users should be able to connect their wallets seamlessly and sign transactions securely.
b. Secure Smart Contracts
Ensure your smart contracts are secure by following best practices in Solidity development. Consider using automated security tools like MythX or Slither to detect vulnerabilities.
c. Gas Fees
Be transparent about gas fees, which are the costs associated with Ethereum transactions. Inform users about potential fees before they initiate transactions, and consider subsidizing gas costs for certain actions in your DApp.
d. Data Encryption
If your DApp handles sensitive user data, implement data encryption and storage best practices. Use HTTPS for communication between the frontend and backend, and consider using encryption libraries like OpenZeppelin’s Solidity library for on-chain data.
e. Testing
Thoroughly test your DApp on a local Ethereum network to identify and fix any security vulnerabilities. Consider conducting a third-party security audit to ensure the highest level of security.
Step 6: Testing and Deployment
Before deploying your NFT collection DApp to the Ethereum mainnet or a testnet, it’s essential to thoroughly test it to ensure that everything functions as intended. Here’s how to go about it:
a. Local Testing
Test your DApp on a local Ethereum network (e.g., Hardhat’s built-in network or Ganache) to simulate interactions with the blockchain. This allows you to catch bugs and verify that your smart contracts and frontend work seamlessly together.
b. Testnet Deployment
Deploy your DApp to an Ethereum testnet (e.g., Ropsten, Rinkeby, or Kovan) to perform end-to-end testing in a real-world environment without using real Ether. This step is crucial to ensure your DApp behaves as expected on the Ethereum blockchain.
c. Mainnet Deployment
Once you are confident that your DApp works flawlessly on a testnet, you can proceed to deploy it to the Ethereum mainnet. This step involves real Ether transactions and should be approached with caution. Double-check all contract addresses, configurations, and gas settings before deployment.
The Future of Your NFT Collection DApp
Congratulations, you’ve successfully crafted your exclusive NFT collection DApp! However, your journey doesn’t end here. To maximize the potential of your NFT collection, consider the following strategies and features:
1. Royalties for Creators
Implement a royalty system that allows creators to earn a percentage of each resale of their NFTs. This incentivizes artists, musicians, and other creators to participate in your NFT ecosystem.
2. NFT Marketplace Integration
Explore integration with NFT marketplaces like OpenSea, Rarible, or Mintable. These marketplaces can provide additional visibility and liquidity for your NFTs.
3. Community Engagement
Engage with your NFT community through social media, Discord, or other platforms. Building a strong community can lead to increased interest and demand for your NFT collection.
4. Continuous Development
Continuously improve and expand your DApp’s features based on user feedback and market trends. Staying updated with the latest developments in the NFT space is crucial for long-term success.
In this comprehensive guide, we’ve embarked on an exciting journey to create an exclusive NFT collection DApp using Hardhat and React. With the power of blockchain technology, you can now bring your unique digital assets to life and engage with the thriving NFT community. As you continue to refine your DApp and expand your NFT collection, you’ll be at the forefront of the evolving NFT landscape, making your mark in the world of digital ownership and creativity.
Remember that the NFT space is constantly evolving, so staying informed and adaptable is key to your success. Happy crafting, and welcome to the world of NFTs!